Made in Denmark Scandinavian design and Quality materials Short delivery time Designed in Denmark Lots of possibilities for customization Invisible magnetic surfacee FREE Samle Ready to create custom solutions
Online guide to installing your wooden country map
Est. 45-180min
1 - 2
Recommended Tools
Drill
*Required*
Tape measure
Vaccum
Hammer
Level
Scissors
Har dit landekort ikke magnetophæng? Så anbefaler vi at du springer de første 3 steps over.
Play Video
Step 1: Mount the template on the wall.
Begin by unfolding the templates and cutting off the “small-island” guide. Tape the Part 1 template firmly to the wall. We recommend using painter’s tape.
Use a ruler or measuring tape to ensure the map is centered on your wall. Measure from each corner up to the ceiling and ensure the map hangs parallel to the ceiling. If your ceiling is uneven, you can optionally use a spirit level along the paper to make sure the map hangs straight.
Once the paper is correctly positioned, make sure it is stretched out as smoothly as possible. Add more tape all the way around the edge to ensure the paper is tightly affixed to the wall.
NOTE: If your map only has one template, you can proceed to step 2. Otherwise, continue reading:
Now hang up Part 2 on top of Part 1. Align the edge of the paper to the marked lines on Part 1. Once the paper is correctly hung and you can see that the country illustrations match, tape Part 2 firmly to the wall as well. Remember to stretch out Part 2 as smoothly as possible.
Play Video
Step 2: Pre-drill and secure the magnets.
Once the paper is securely attached to the wall, you’re ready to drill holes. Use a 5 mm masonry drill bit and drill through the paper at the marked holes. (Use the supplied wall plugs to measure how deep you should drill).
After drilling all the holes, you can remove the template (save it for later use).
Use a vacuum cleaner to remove dust from all the holes. We also recommend vacuuming the floor for dust and washing the wall around the holes now.
Now, you can insert the wall plugs into the holes and screw the magnets in place. Remember to place a black foam ring between the magnet and the wall. Screw the magnet until it can no longer rotate freely. Be careful not to overtighten, as neodymium magnets can easily break.
Note: If you have a wall that does not require wall plugs, you can poke holes through the template, remove it, and then screw the magnets directly into the wall. Remember also to place the black foam rings between the magnet and the wall.
Play Video
Step 3: Hang up the first parts.
Now you are almost ready to hang the first parts. Turn all the large pieces with a round metal plate on the back over on a table so you can see the backside. Place the rectangular foam pieces on the spots marked on the wood.
Now you can hang the pieces on the wall. Hang them so that the magnet hits about the middle of the metal plate in the map.
Next, use the cardboard templates to adjust the distance between the parts. We recommend starting with the largest part. Use the paper template to see where the numbered cardboard templates fit and use them to create the correct distance between the large parts. You might need to move the parts around a bit to get everything to fit perfectly.
Play Video
Step 4: Prepare the small islands for mounting
Now, use the piece of the template that you cut off in step 1. Turn the sheets with small islands over on a table so you can see the backside. You should have the wooden islands and matching pictures on the paper.
The paper shows a suggestion for how the foam pieces can be placed, along with a number for each island, in case you are unsure where the island should hang.
Place all the foam tape pieces on the wooden islands as shown on the paper. We recommend starting with the largest foam tape pieces and then working down to the smallest.
Turn the sheet over again and gently press the islands out by pushing from the front. Avoid using your nails as this can leave marks. For some of the smallest islands, it might be beneficial to use a thin piece of tool to push from the back. Ensure to place the islands as they were laid out on the sheet if you want to use the numbers to hang them up on the wall.
Note: Your hands might get slightly blackened. This is due to the soot from the laser-cut edges of the islands. It can easily be removed with a damp cloth if it gets on the table or the front of the islands.
Play Video
Step 5: Place the small islands on the map
Now you need to place the small islands on the wall, and here are two options.
Option 1 (not recommended if you plan to move your map in the future and want to keep the template): Cut out areas from your paper template so you can hold a piece of paper in one hand and see how an island should be placed while you place it with your other hand.
Option 2: Download the image below to your mobile device and zoom in on an area so you can see where an island should sit.
Regardless of whether you use option 1 or 2, the next steps are the same. Hold your mobile or piece of paper up side by side with the island you are trying to place. Use the islands you have already mounted to gauge how to hang the next island.
We recommend starting with the islands that hang closest to the parts you mounted on the wall in step 3 and work your way out from there. This way, you avoid having too large or too short a distance between them.
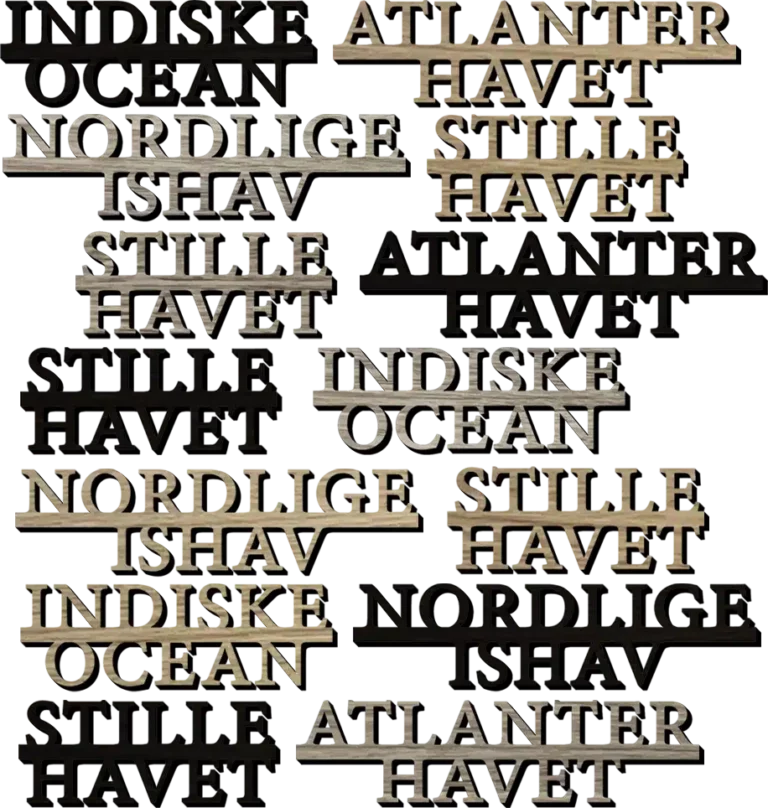
Download the PDF file so you can accurately place the small islands. (Coming Soon)